CDL Pre-Trip Inspection Checklist Generator
A thorough CDL pre-trip inspection is required by FMCSA regulations and is one of the best ways to catch small problems before they become roadside breakdowns or DOT violations. It's also the exact skill CDL examiners test during the licensing exam using a standardized 7-step vehicle inspection sequence.
Use this interactive checklist to work through every major inspection checklist category — engine compartment, brakes, tires, lights, coupling devices, and the in-cab check — then print or save your inspection report for your records.
Engine Compartment
Brakes
Tires & Wheels
Lights & Electrical
Steering & Suspension
Coupling Devices
Cab & Documents
The 7-Step CDL Pre-Trip Inspection Explained
The CDL exam and FMCSA-recommended process break a complete pre-trip inspection into seven sequential steps. Following the same order every time builds a habit that makes it faster to spot something out of place, and it's exactly what examiners expect to see during a licensing test.
- Vehicle overview — a walk-around to check general condition, leaks, damage, and that the vehicle is parked safely with wheels chocked.
- Engine compartment check — fluid levels, belts, hoses, and visible leaks or damage before the engine is started.
- In-cab inspection — gauges, mirrors, seatbelt, horn, wipers, and all controls checked with the engine running.
- Lights check (walk-around) — headlights, turn signals, and hazard lights confirmed working, engine off.
- Walk-around inspection — the most detailed step, covering tires, wheels, suspension, brakes, coupling, and trailer components.
- Signal lights check — turn signals and brake lights confirmed with a second walk-around after activating them.
- Final air brake check — static and applied air pressure checks, including the low-air warning and spring brake activation.
Engine Compartment Components
What to Check Under the Hood
During the engine compartment portion of a vehicle inspection, check engine oil level, coolant level, power steering fluid, and windshield washer fluid. Inspect the belts for cracking or fraying, and check hoses for soft spots, bulges, or leaks. Look for oil, coolant, or fuel leaks on the ground beneath the engine, and confirm the air compressor and alternator belts are properly tensioned.
Brake Chamber and Air System
Inspecting the Brake Chamber
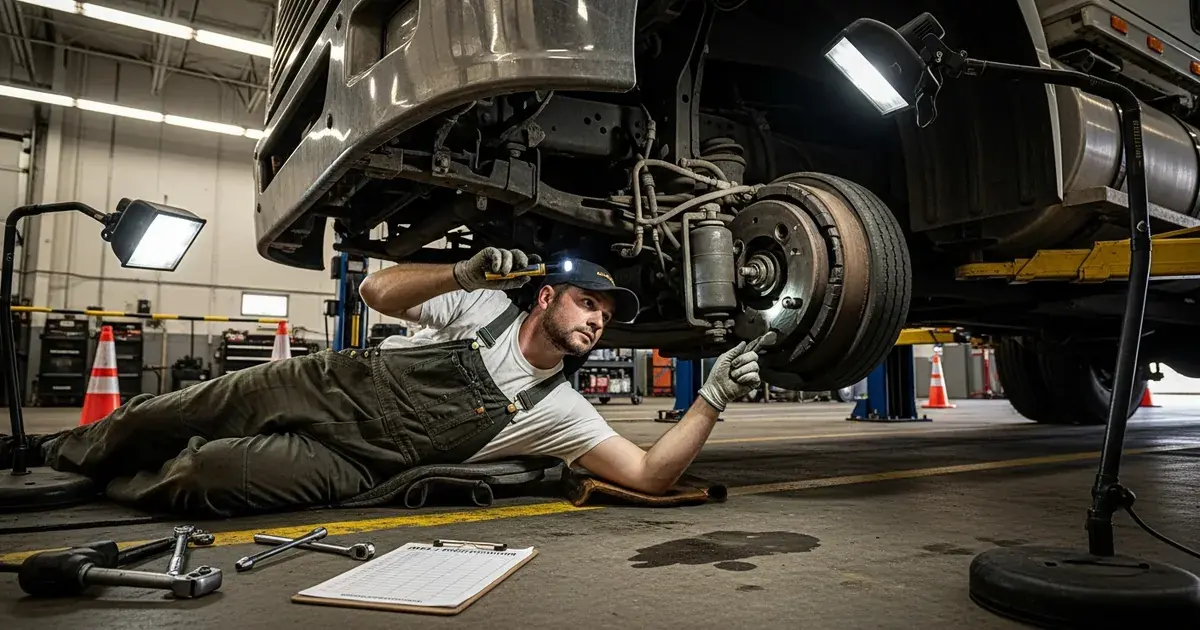
Each brake chamber should be checked for security of mounting, cracks in the housing, and proper pushrod travel — excessive stroke on a brake chamber is a common out-of-service violation. During the final air brake check, listen for air leaks at the chamber and fittings, and confirm the spring brakes activate properly when air pressure drops below the manufacturer's threshold, typically around 20–45 psi depending on the vehicle.
Coupling System
Fifth Wheel and Trailer Coupling
Check that the fifth wheel is properly locked onto the kingpin, the release arm is in the locked position, and there's no visible gap between the upper and lower fifth wheel plates. Inspect the glad hands and air lines for secure connections and no leaks, confirm the safety chains or cables are properly attached, and check the landing gear is fully raised and secured before moving.
Lights and Reflectors
Confirming All Lighting Works
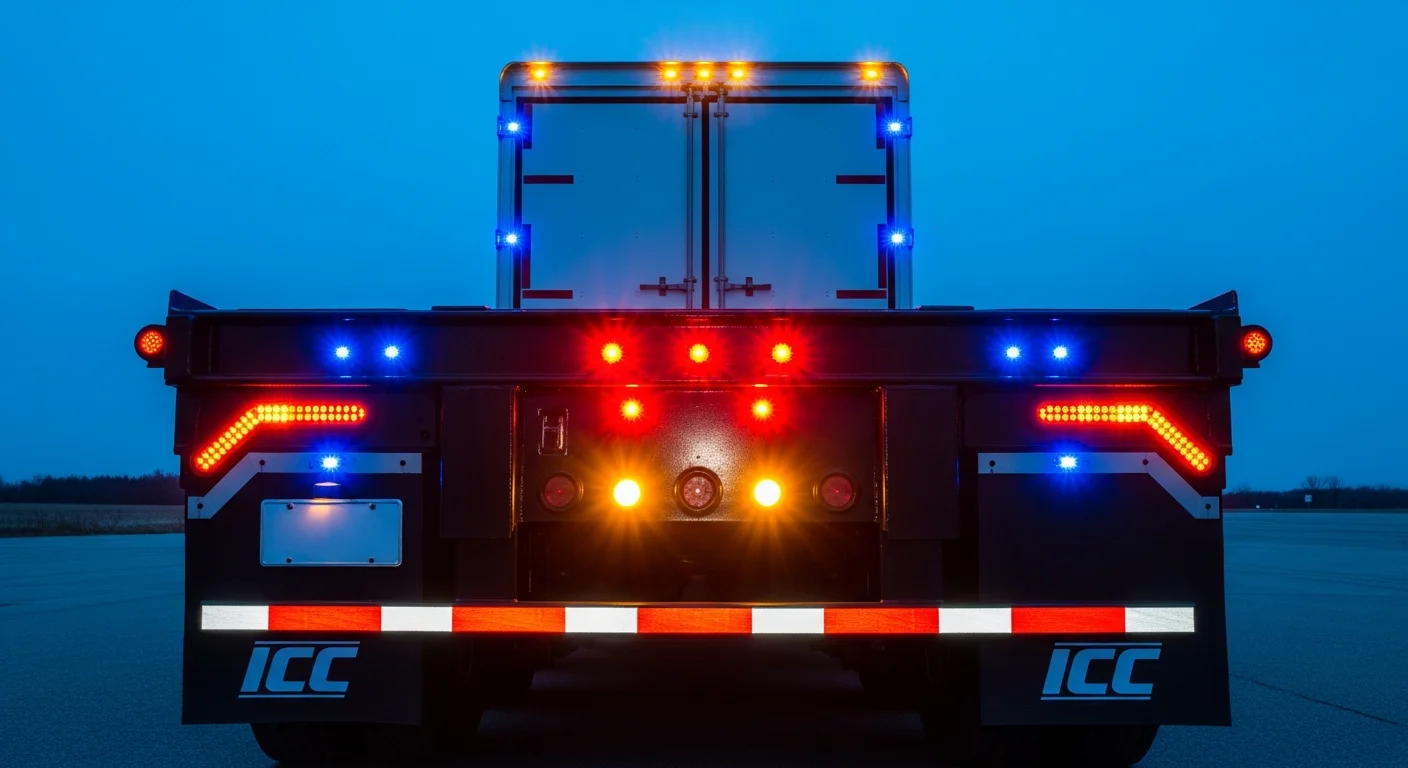
Check headlights (high and low beam), turn signals, four-way flashers, brake lights, marker lights, clearance lights, and reflectors on both the tractor and trailer. Trailer lighting violations are one of the most common items flagged during roadside inspections, so this step deserves a full walk-around rather than a quick glance.
In-Cab Check
What Examiners Look For Inside the Cab
With the engine running, check all gauges for normal readings, test the horn, wipers, and washer fluid, adjust and confirm both mirrors, and verify the seatbelt latches securely. Check the parking brake and clutch (if applicable) for proper operation, and confirm required documents — registration, insurance, and inspection reports — are on board.
Most Commonly Overlooked Items
Even experienced drivers miss a few spots during a rushed complete pre-trip. The most frequently overlooked items include: wheel seal leaks (easy to miss without getting low to look), worn or cracked brake chamber boots, low tread on inner dual tires that are harder to see, loose or missing mud flap hardware, and expired annual inspection stickers. Building a practice pre-trip routine that specifically checks these spots reduces the chance of a surprise violation.
Pre-Trip vs. Post-Trip Inspection
A pre-trip inspection happens before the vehicle is driven and is designed to catch issues before they become a hazard. A post-trip inspection — required at the end of a shift under FMCSA's Driver Vehicle Inspection Report (DVIR) rules — documents any defects found during the day's driving so they can be addressed before the vehicle's next trip. Together, the pre-trip and post-trip inspections form a continuous safety loop: what one driver notes at the end of a shift becomes the next driver's starting checklist.
How Examiners Score the CDL Pre-Trip
CDL examiners score the CDL pre-trip portion of the skills test on completeness and accuracy — missing a required item, performing steps out of order in a way that skips a check, or failing to identify a planted defect can result in point deductions or an automatic failure depending on the state's scoring rubric. Examiners are also checking that the driver can explain *why* each component matters, not just recite a memorized list.
Keeping Inspection Reports
FMCSA requires drivers to complete a written inspection report (DVIR) documenting the condition of the vehicle, and carriers must retain these records for a minimum of 90 days along with the certification that any noted defects were repaired. Keeping a digital or printed inspection checklist for every pre-trip — even when no defects are found — builds a documented safety record that protects both the driver and the carrier during a DOT audit or after an incident.